58-59 Balaji Nagar, St Stephen Circle, Makarwali Road, Ajmer, Rajasthan 305004
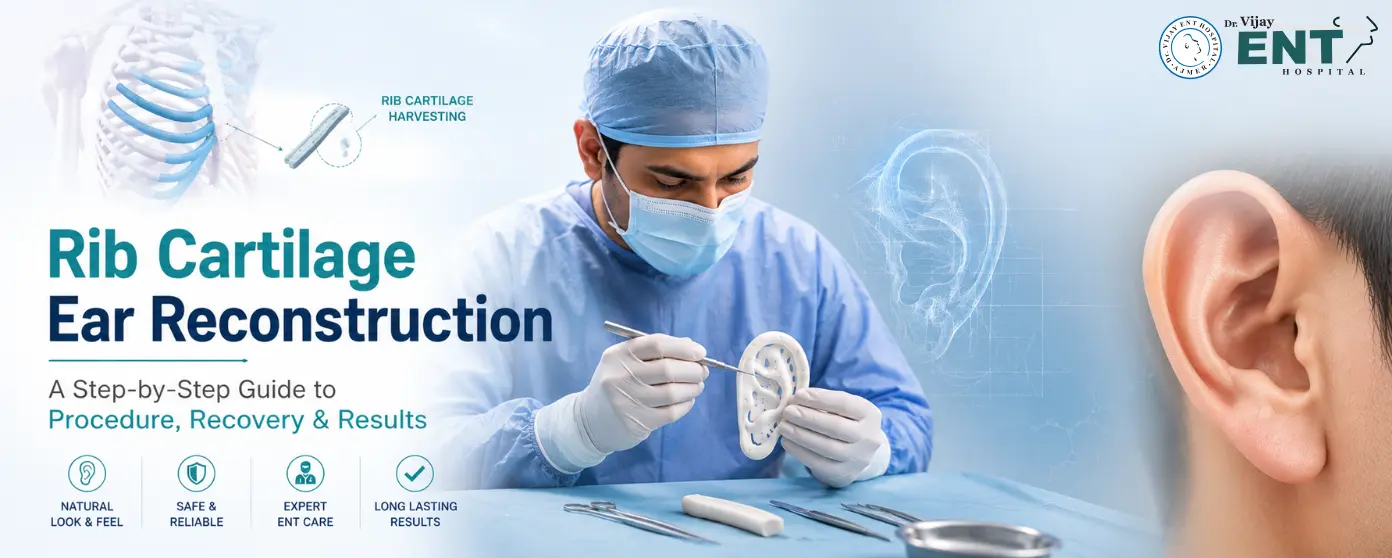
For individuals who are born with microtia, or for those who have lost part of their ear due to trauma, burns, or earlier operations, ear reconstruction can significantly improve ear appearance and facial symmetry. Among the reconstruction options out there today, rib cartilage ear reconstruction still stands out as one of the most dependable and commonly used ways to create a natural-looking ear.
In short, this procedure uses the patient’s own rib cartilage to create a customised ear framework, so it’s considered an autologous ear reconstruction method. Since the cartilage is taken from the patient themselves, the reconstructed ear is highly biocompatible because it is created using the patient’s own tissue, solid, and usually carries a lower chance of problems related to rejection or similar complications.
For parents thinking about surgery for a child with microtia, understanding the treatment options available can help families make informed decisions. There are often a lot of questions about the process, the recovery period, the possible results, and the risks. Learning the microtia surgery steps can make it easier for families to choose wisely and prepare for the whole treatment path, and help families better understand the treatment journey.
In this guide, we’ll walk through what rib cartilage ear reconstruction surgery actually is, how the surgery gets done, what recovery may feel like day to day, and what longer-term results patients can typically expect.
Rib cartilage ear reconstruction is a surgical procedure that reconstructs the external ear using the patient’s own rib cartilage. In many situations, it is done most often for people who have microtia, a condition present at birth where the outer ear is underdeveloped or can be completely missing. Different from synthetic implants, this plan relies on the patient’s own tissue. So, it is often called autologous ear reconstruction, meaning the reconstruction is done using the patient’s own biological material.
Doctors commonly suggest this procedure for several situations, including:
One of the big benefits here is that the cartilage framework basically becomes a long-term fixture in the body. Because the tissue is living, the reconstructed ear usually develops along with the patient and tends to stay stable over the years.
Most surgeons also lean toward doing rib cartilage reconstruction when a child is roughly 8–10 years old, since the rib cartilage is usually mature enough by then to shape a fine, detailed ear framework, without rushing it too early.
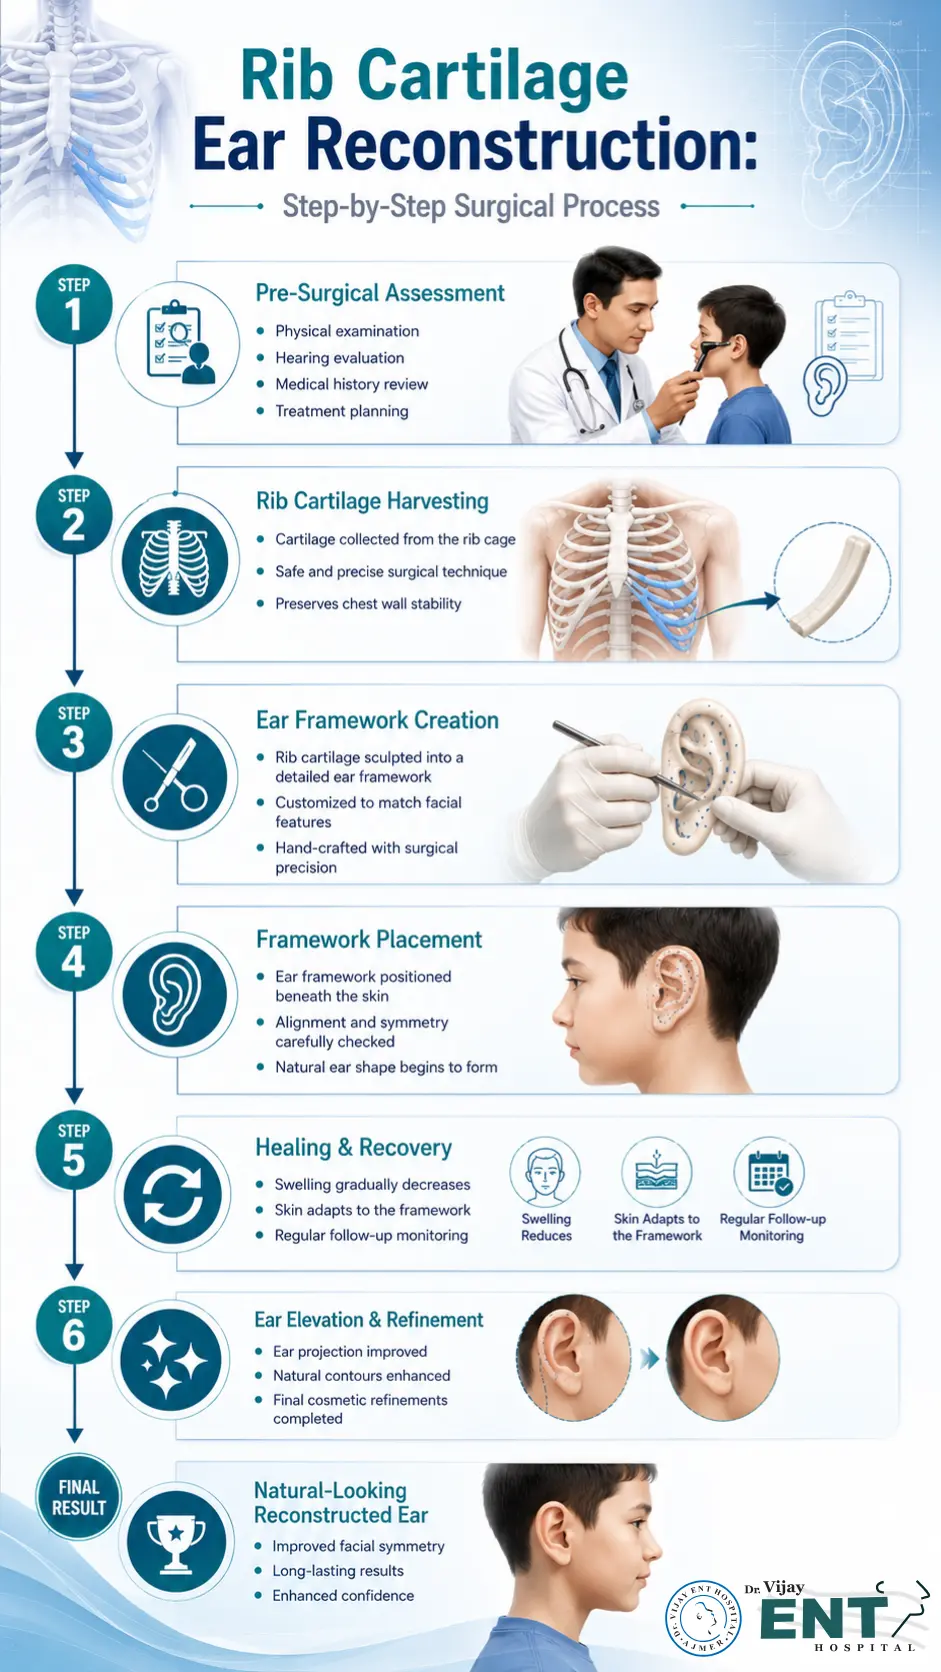
Understanding the microtia surgery steps can help patients and parents feel more confident about the treatment process. Even though surgical techniques may differ a bit between surgeons, the overall flow usually lines up with these stages.
Before the procedure, the surgeon does a thorough evaluation to see if the patient is a suitable candidate.
This assessment often includes –
Also, the surgeon checks the chest area to make sure there is enough rib cartilage available for reconstruction.
Families then get clear instructions about medications, fasting requirements, and what post-operative care will look like, before surgery day.
The first big part of the operation is collecting cartilage from the rib cage.
A small incision is placed on the chest, often beneath the breast area or along the lower rib region. The surgeon then removes carefully selected portions of the ribs while keeping the chest wall stable.
Not just any amount is taken; it depends on what the reconstruction needs. The amount of cartilage harvested is based on
Even if rib cartilage harvesting feels a little unsettling at first, the body continues to work normally after surgery. Most patients go through recovery well, with minimal lasting issues, and most patients recover well with minimal long-term chest-related complications.
After the cartilage has been harvested, the surgeon sculpts it into a detailed, three-dimensional ear framework.
This stage requires exceptional surgical precision and artistic expertise, plus artistic accuracy. The surgeon trims and shapes the cartilage to mirror the natural bends, layers, creases and overall contours you would see in a normal ear. The framework design is one of the most critical aspects of successful microtia reconstruction surgery.
The framework gets tailored based on:
This hand-built framework becomes the core support for the reconstructed ear, and without it everything else would feel off.
Once that framework is finished, the surgeon positions it underneath the skin at the reconstruction site.
A small pocket is made beneath the skin so the framework can be placed there properly. Then the surgeon double-checks:
Sometimes special drainage channels are placed temporarily, so the skin can settle closely over the cartilage structure.
At this stage, the reconstructed ear begins to take its intended shape and contour.
In a lot of cases, rib cartilage reconstruction gets done in more than one stage.
After several months from the first surgery, a second procedure can be arranged to lift the reconstructed ear away from the side of the head.
During this part:
This stage matters because it tends to make the look more believable, and the ear overall definition feels clearer.
Some patients might need small revision procedures, mainly to optimise the cosmetic outcome.
These refinements may involve:
Not everyone requires more work, but when it’s necessary, additional revisions can help the final result look more polished and settled.
Recovery after rib cartilage ear reconstruction usually happens gradually, over weeks and months, not all at once.
Most people remain in the hospital for a short period just to be watched. During the first days, it’s pretty common to notice mild discomfort, swelling, and bruising, even if everything is going well.
Pain relief is handled with the medications that were prescribed.
The team keeps a close eye on both the ear area and the chest site so healing stays on track.
In this earlier recovery stage, patients might deal with:
The surgical team will go over wound care, plus any activity limits, in detail.
For children, returning to school is often possible after a few weeks, as long as progress looks steady.
Even though you can usually see improvements within weeks, the reconstructed ear still needs time to fully mature. That can mean several months before the final look settles.
Over time, you may notice:
It’s important to keep every scheduled follow-up appointment, because those visits help confirm things are healing as intended.
To support healing:
Good aftercare really makes a big difference in how smoothly outcomes tend to turn out.
Rib cartilage ear reconstruction is a proven and fairly reliable choice for patients who have microtia or other ear deformities. By taking the patient’s own rib cartilage, this autologous ear reconstruction method gives a more natural-looking result, and it tends to stay durable over time. Learning about how the ear reconstruction procedure is done, and what the recovery process usually looks like, can really help patients and families make clearer decisions, plus feel more self-assured during the whole treatment journey.

Dr. Vijay Gakhar is a renowned ENT specialist and expert Microtia surgeon in Rajasthan, India. Carrying the MBBS degree from the prestigious SMS Medical College, Jaipur, he holds specialisation with an MS in Otolaryngology ENT (Ear, Nose, and Throat) from Jawaharlal Nehru Medical College (JLN), Ajmer. Besides known for performing the best ear reconstruction surgeries, Dr. Gakhar grabs expertise in all other ENT services such as Septoplasty, Myringoplasty, Nasal Endoscopy, Commando Surgery, and FESS (Functional Endoscopic Sinus Surgery), for over 20 years.